OBDF 311 Project 1 Proposal
The first project this semester is "The Bespoke Object." Bespoke meaning either custom-made or specially made for a particular person. As the person who is keeping this object, this led me to thinking about objects that would be able to live in my space, particularly my home, comfortably.
So my concept for this project is a dragon shaped bookshelf. Currently. I have a lot of books that are being stored in a box under my bed but I am very particular about shelf space, especially since I want a space for some of my larger sketchbooks. The dragon part of the concept came from the idea of hoarding. And since I was on the idea of hoarding, I think it'd be good to have a lot of shelf space that has the potential to hold other odd shaped items, such as plushies and small craft items.
Initial sketches:
My initial sketch was looking at the rough shape this would take, as I want this to be the sort of bookshelf that can stand alone rather than be wall-mounted. (This meant that the bottom HAD to be flat.) Another one of my first steps was measuring the doorframe to see the absolute limits regarding size. The door itself is approximately 32" x 83" (or 81 x 212cm) but I am losing about 1/2in (2cm) on both sides and the top due to the stops in the door frame.
Looking at my bedroom walls, I gestured with my hand the approximate height and depth that that felt "like a good size". (We are going based off vibes here). If it was too tall, I'd have troubles reaching/seeing the back of the top shelf (this is important to maximize storage space in a small living area) but too short would also feel like wasting space. Afterwards, I took a measuring tape to see the actual height of where I'm gesturing. The preferred height was around the 150 - 160cm range, but the very top should be under 180cm. I decided that width would be dependent on the proportions caused by the design. The depth of the bookshelf, including material, shouldn't be more than 14 inches or about 35cm. The reason for this is that I think it might stick out too far from the wall.
In my sketchbook, I also made note of "distance requirements" (the space between each shelf without material) so that things such as my sketchbooks and my manga collection could be properly accommodated. The differing shelf spacing is so that I'm not wasting 4 inches of storage height on a shelf that'll only hold 8 inch tall manga.
After sketching the generic shape, I did another pencil drawing with a more defined shape. Something else I wanted to include in my design was hooks on the wings so I can hang up items such as my keys or my hats. Something to note about this design is that the horns and scales are meant to be decorative or complimentary to the design. Maybe instead of using 3/4-inch plywood (this is the industry standard for bookshelves), I can cut 1/4 plywood.
I also made some vague notes about color choices. I like the idea of natural wood coloring but the cost of solid wood instead of plywood is not quite worth the difference. For durability purposes, I think I should probably avoid softwood. If I decide to paint it (likelier option with plywood), I'll probably go with plain white or a very light tone (such as yellow/orange) to keep the room bright.
And below would be the bookshelf if I included scales on the dragon's back. Material wise, I briefly considered foam for those details but I'm not sure about the longevity of using foam.
Processes & Tools:
Regarding tools for this project, I hope to use the CNC router in the woodshop to cut the larger pieces, and maybe the laser cutter for the detail pieces (horns/scales).
The biggest challenge with this design is how I will bend the wood forming the curved silhouette. I am not overtly familiar with how to do it, but methods I've looked into were hot water/steam and kerf bending.
From what I understand, methods using steam or water require soaking the wood, using a curve template and then letting it dry while clamped for a few hours and repeating the process until the wood is at the desired curve. I'm not too keen to use this method since I'd likely have to make my own template in addition to running the risk of snapping the wood from bending too fast.
The other option, kerf bending, is a woodworking process where precise small notches, also known as "kerfs", are cut partially into wood to create flexibility allowing it to bend.
Below images: https://www.woodmagazine.com/woodworking-how-to/joinery/kerf-bending
I would like to try kerf bending since I feel like I'd be able to have good control modeling the cuts in rhino before using the CNC router.
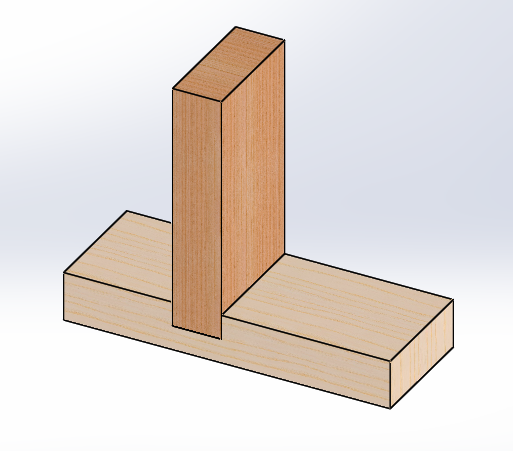
The other physical considerations I have for this project is the assembly, particularly joinery. While I could just nail/glue everything together using butt joints (see image below), I think it'd be better to utilize the CNC router to make stronger joints.
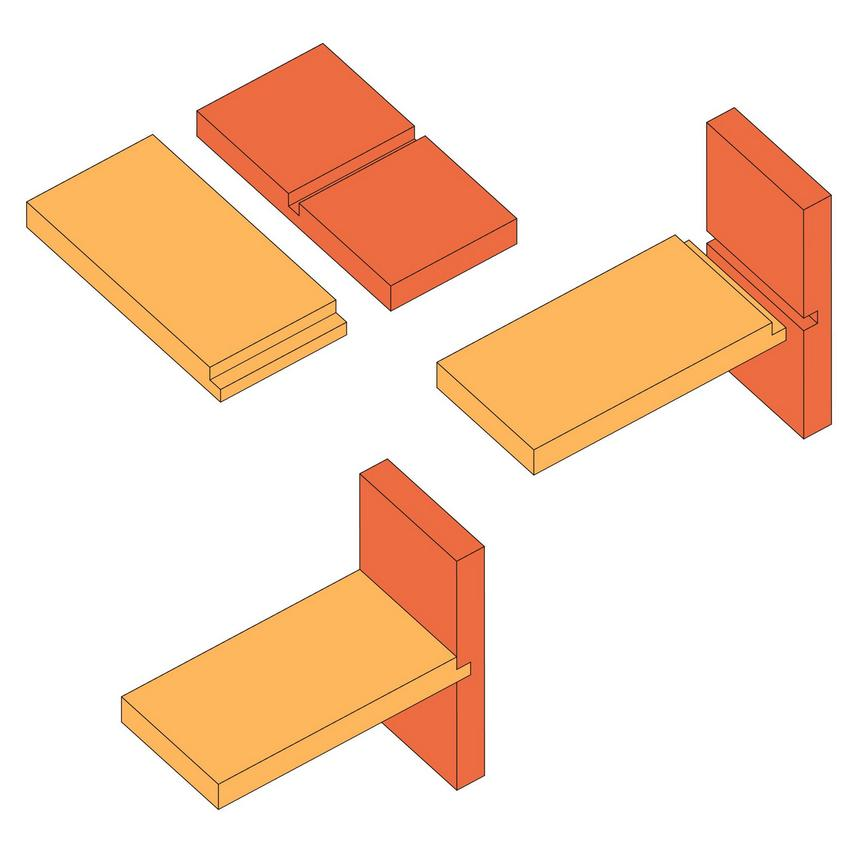
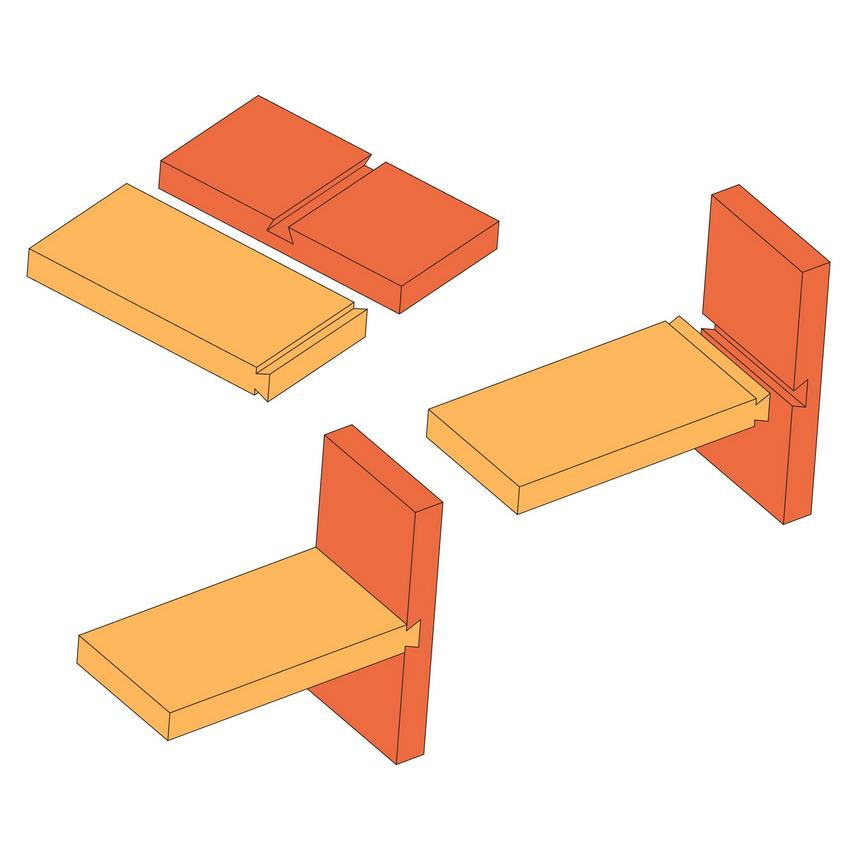
To hold the shelves in place, I briefly looked into a few different woodworking joints that I could use.
Dado: (https://mtwdesigncraft.weebly.com/housing-joint--feiralt.html)


Comments
Post a Comment